Misted Tubes Made Easy
This tutorial was Written on June 4, 2008 By Peachy Keen Designs
Any similarity to any other tutorial is purely coincidental.
Please feel free to print it out for your own personal use
but please do not claim it as your own.
All materials and tubes used are copyright to their respective owners
and will be credited accordingly.
Ok bare with me here this is my first tut in a LONG LONG Time lol
This is the Technique I Use, This does not mean this is the only way
nor does it mean that its the best way, nor does it mean i invented the
Misting Technique, This is simply the way I do my mists.
also i would like to mention that this tutorial is to be used
a guide feel free to play and experment with your own settings
OK here we go
Supplies Needed:
Image of Choice
I am using a photo from: http://www.freedigitalphotos.net/
Paint shop Pro
(I am using Version 9, But should be able to do in other versions as well)
100% Optional Plugin: Xero - Porcelain (Freeware filter)
(xero : filter set 1 )
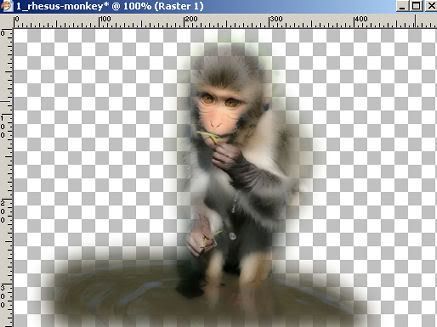
Ok Open the image in PSP
Press "Shift & D" Keys on keyboard to Duplicate the image
and Close out the original.
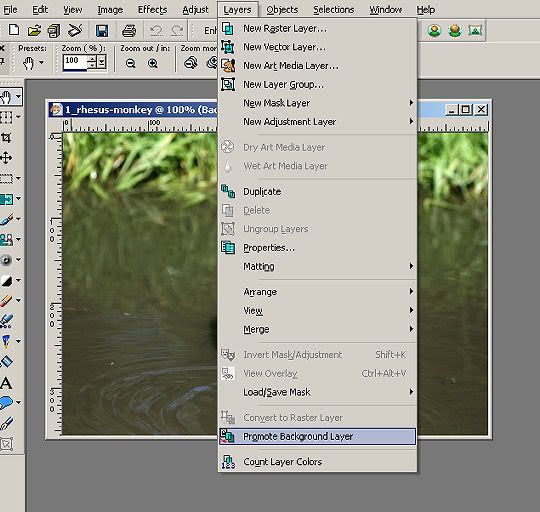
Working on your Dupilcated image
go to layers/Promote Background Layer
Select Your Free Hand Selection Tool (The Little Lasso)
Settings:
Selection Type: Point to Point | Mode : Add (Shift) | Feather: 0 | Smoothing 0 | Anti-alias - Unchecked

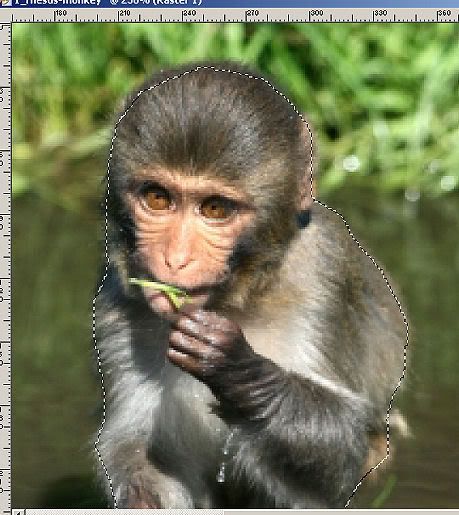
Zoom in Close and "Outline" the part you would like to mist
In My Image I am Misting the Monkey so
I will Outline him with my Free hand selection tool
I General try to get as close to the "main" image as possible
But this will vary depending on the image and Subject being misted
Below is an example of how mine looks
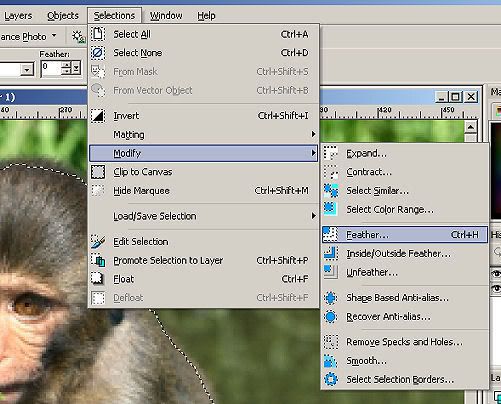
Keep Selected and go to
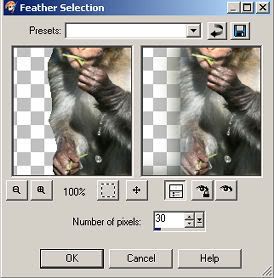
Selections/modify/Feather
Settings: Numer of Pixels : between 25 - 35
Keep selected
Selection/ Invert
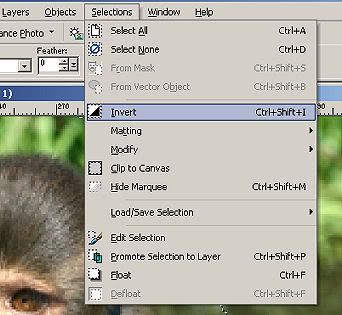
Then Hit the Delete key once on your computer
Slection/select none
Ok Now you can save it like this as psp image or png
or you can do the following 1 or 2 of OPTIONAL Techniques
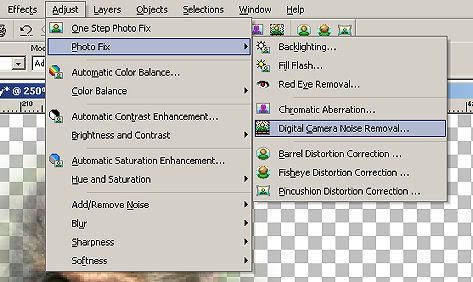
Got Adjust/Digital Camera Noise Removal
Settings:
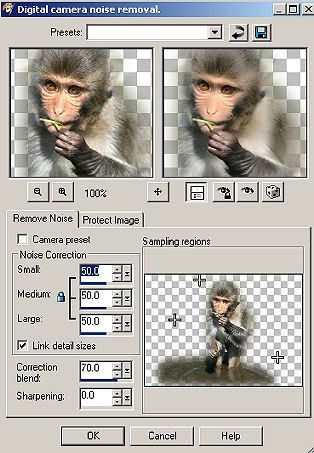
Again you can save as is or continue with the following step
effects/xero/Porcelain
Settings:
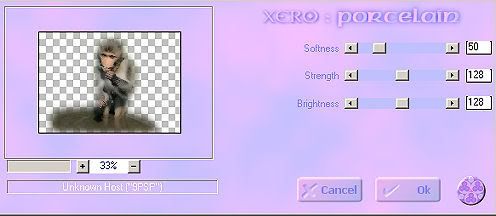
Save and your done!
Finished result: